
Bleed / margins guide for Canva users
Posted by Healey Pembridge, Patrick Sullivan on Oct 28th 2025
To get the best results from your Canva design, it’s important to prepare the file correctly for print. This guide walks you through how to show bleed, choose the right file type, and export your design so it prints cleanly and professionally.
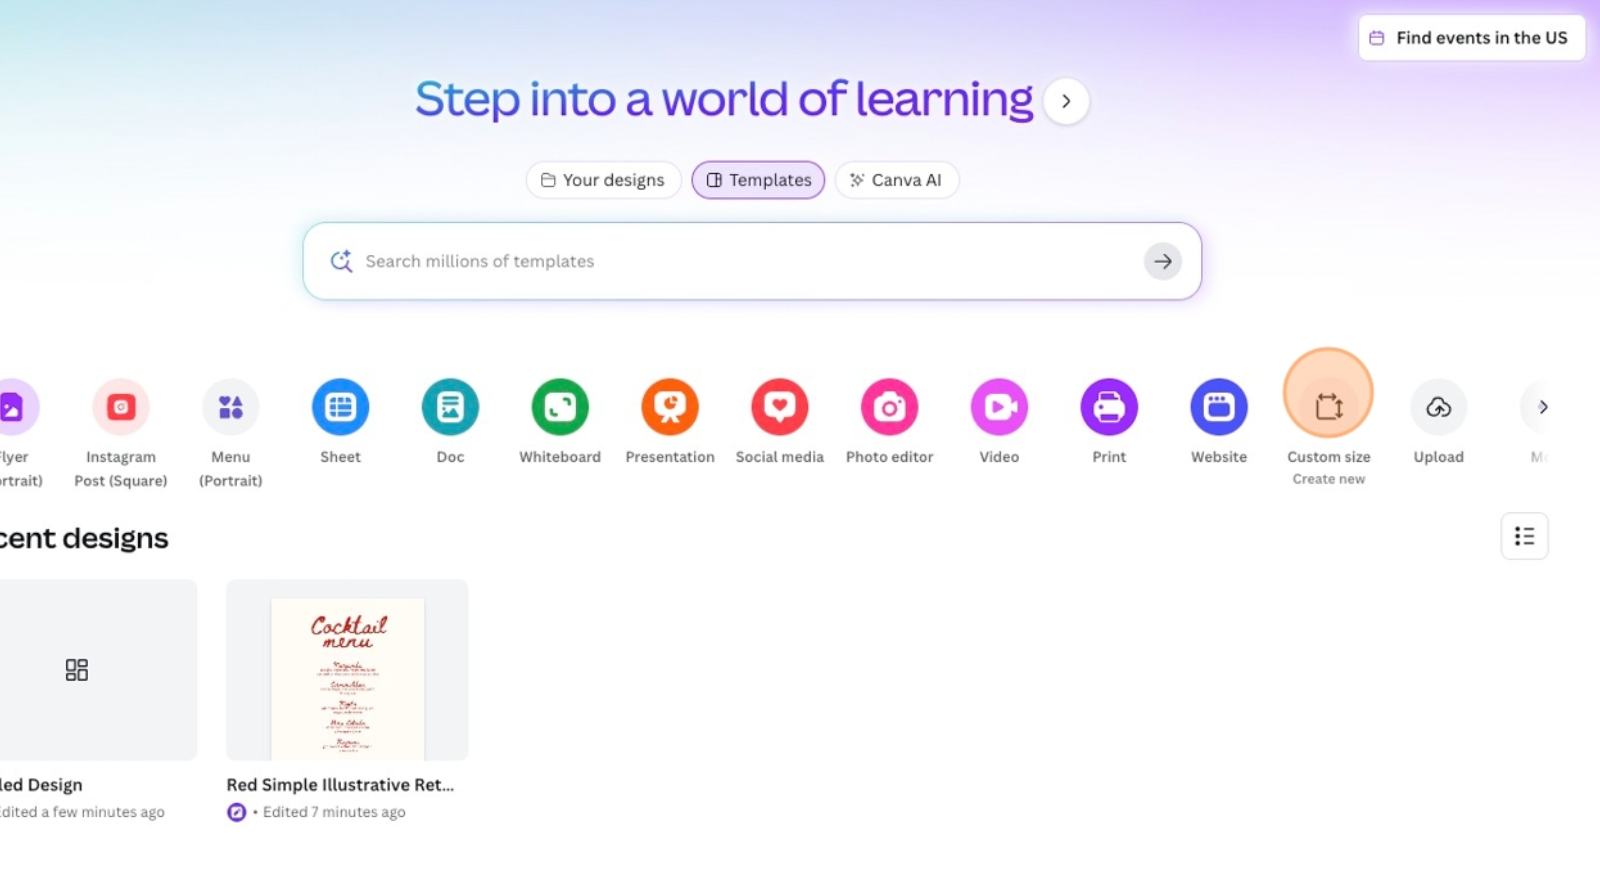
1. Either start with an existing template or create from scratch, but ensure the size matches one of our available print sizes.
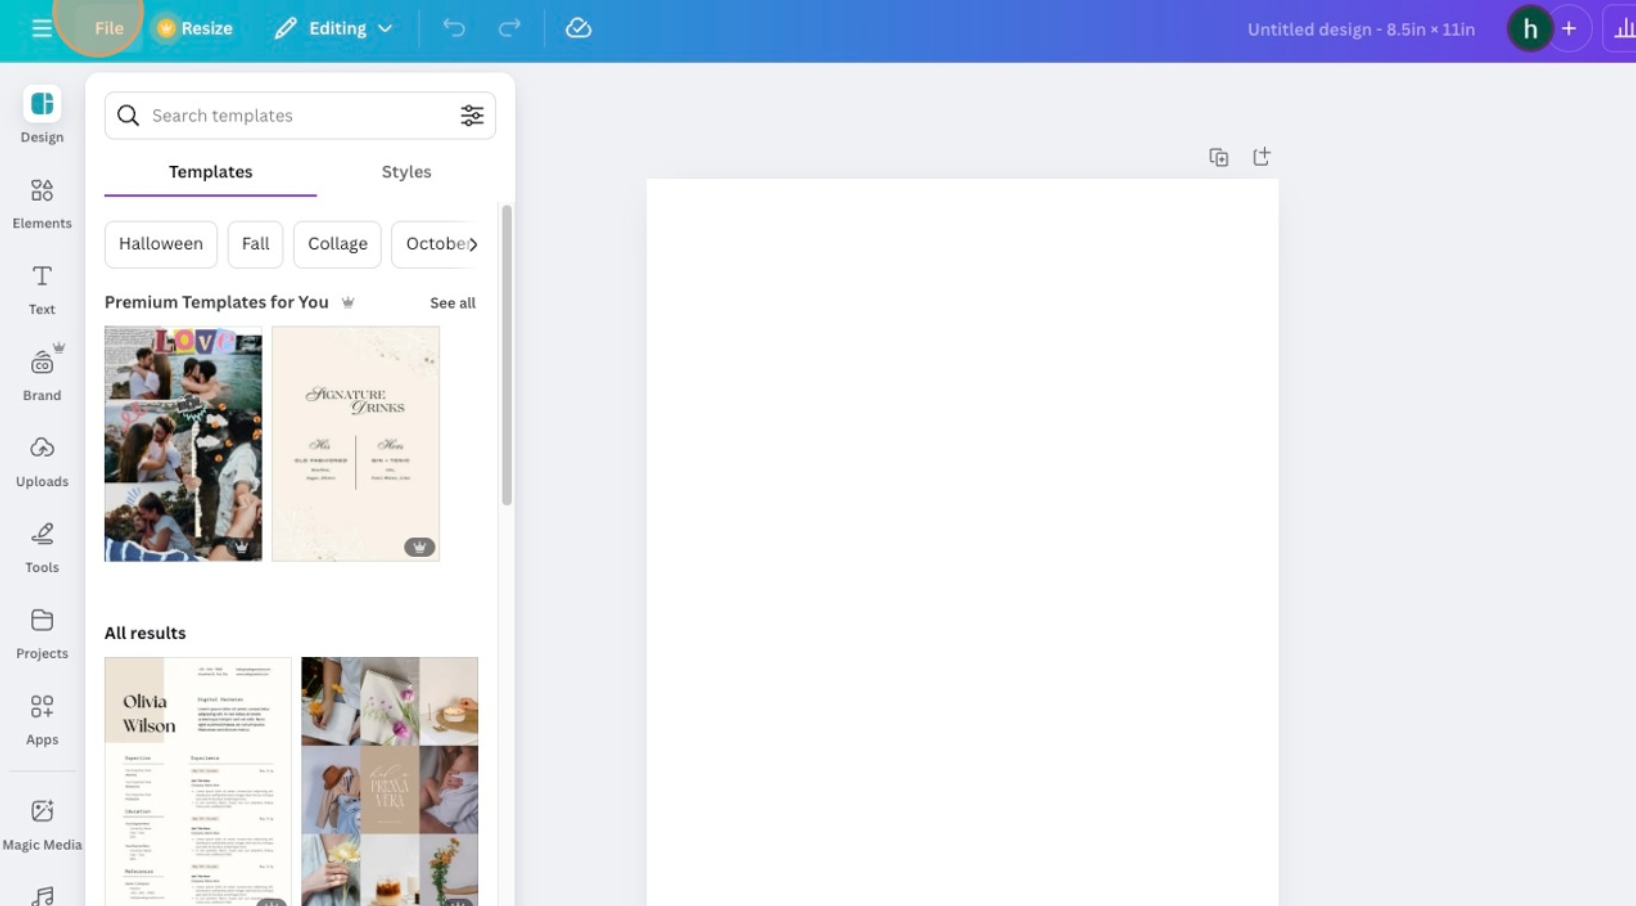
2. Click "File".
3. Click "Show margins".
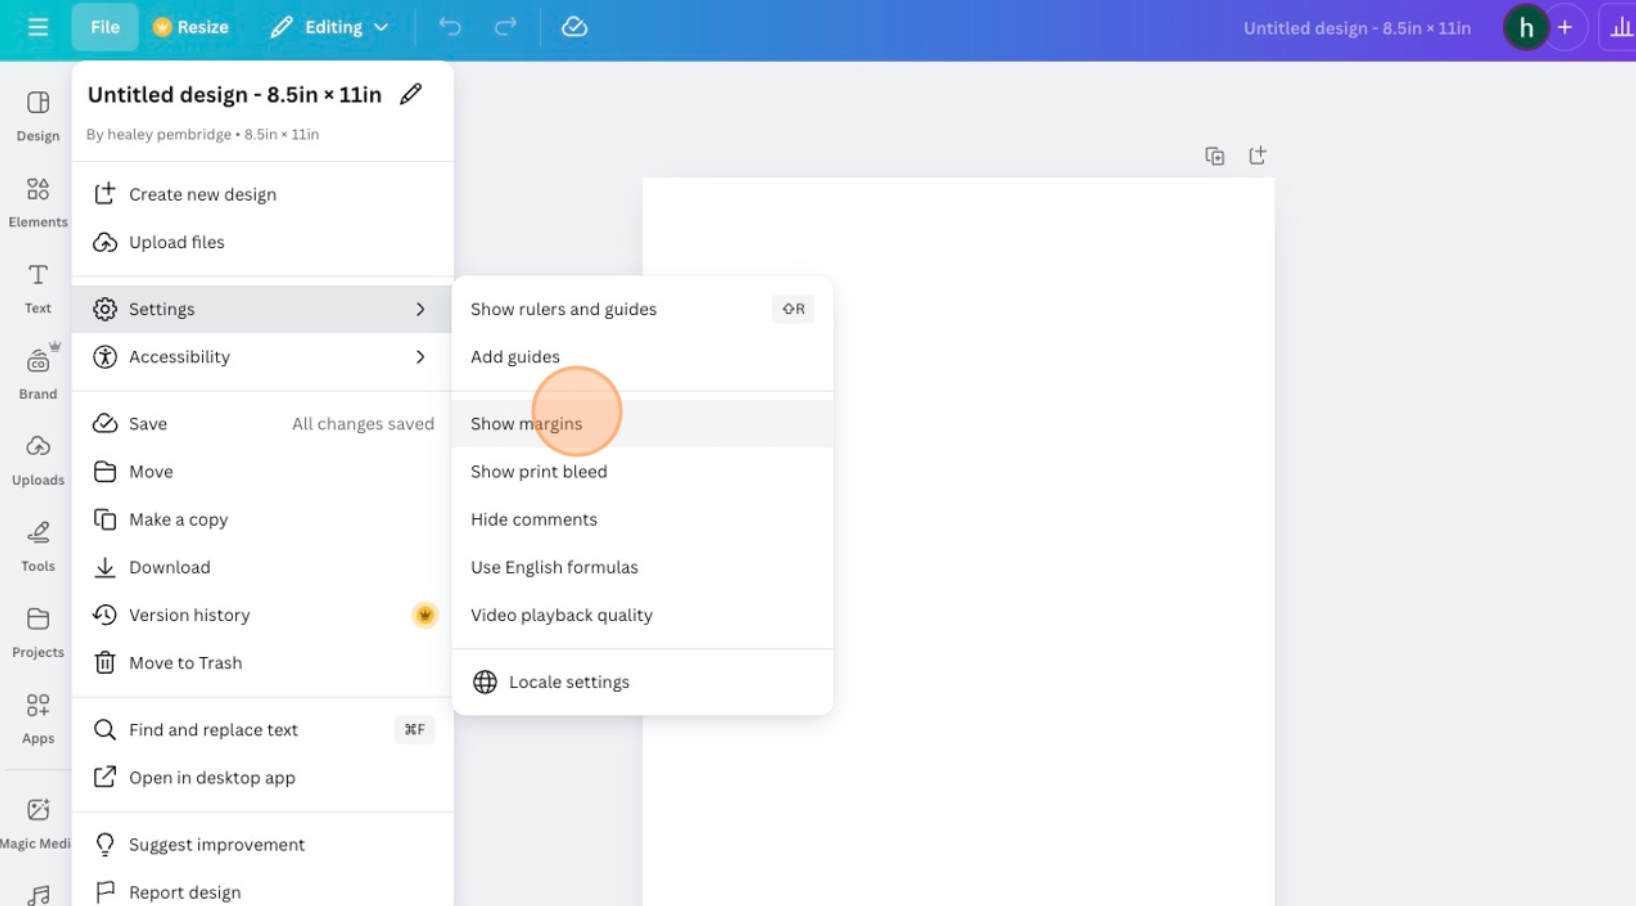
4. Click "File".
5. Click "Show print bleed".

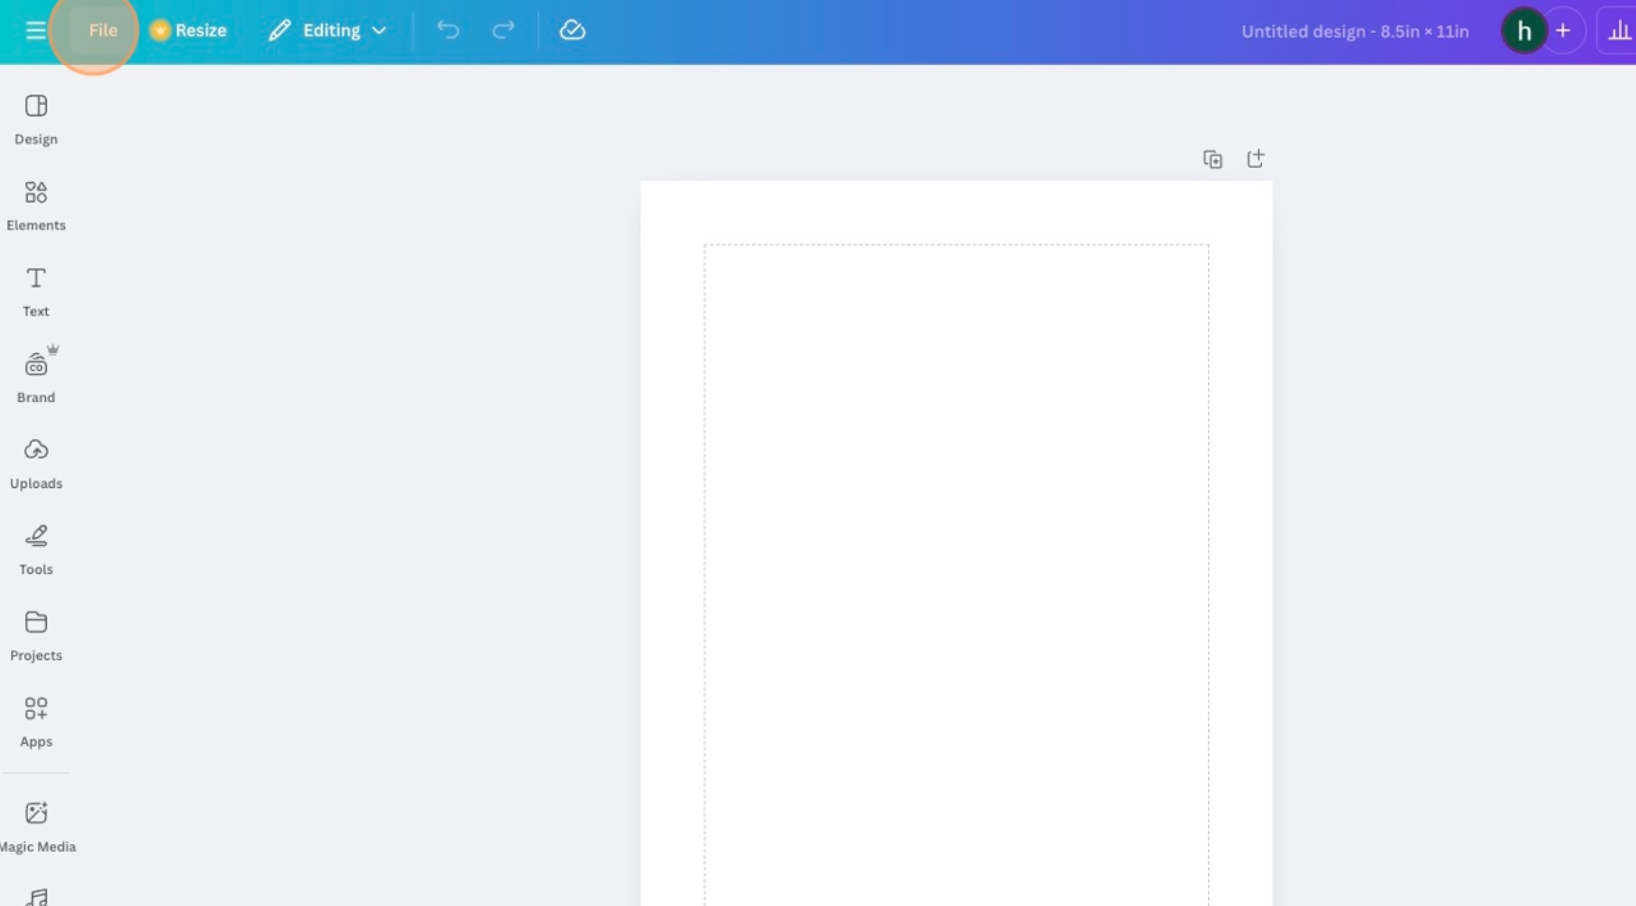
6. While designing, ensure that all important (non-decorative) elements remain within the margins.
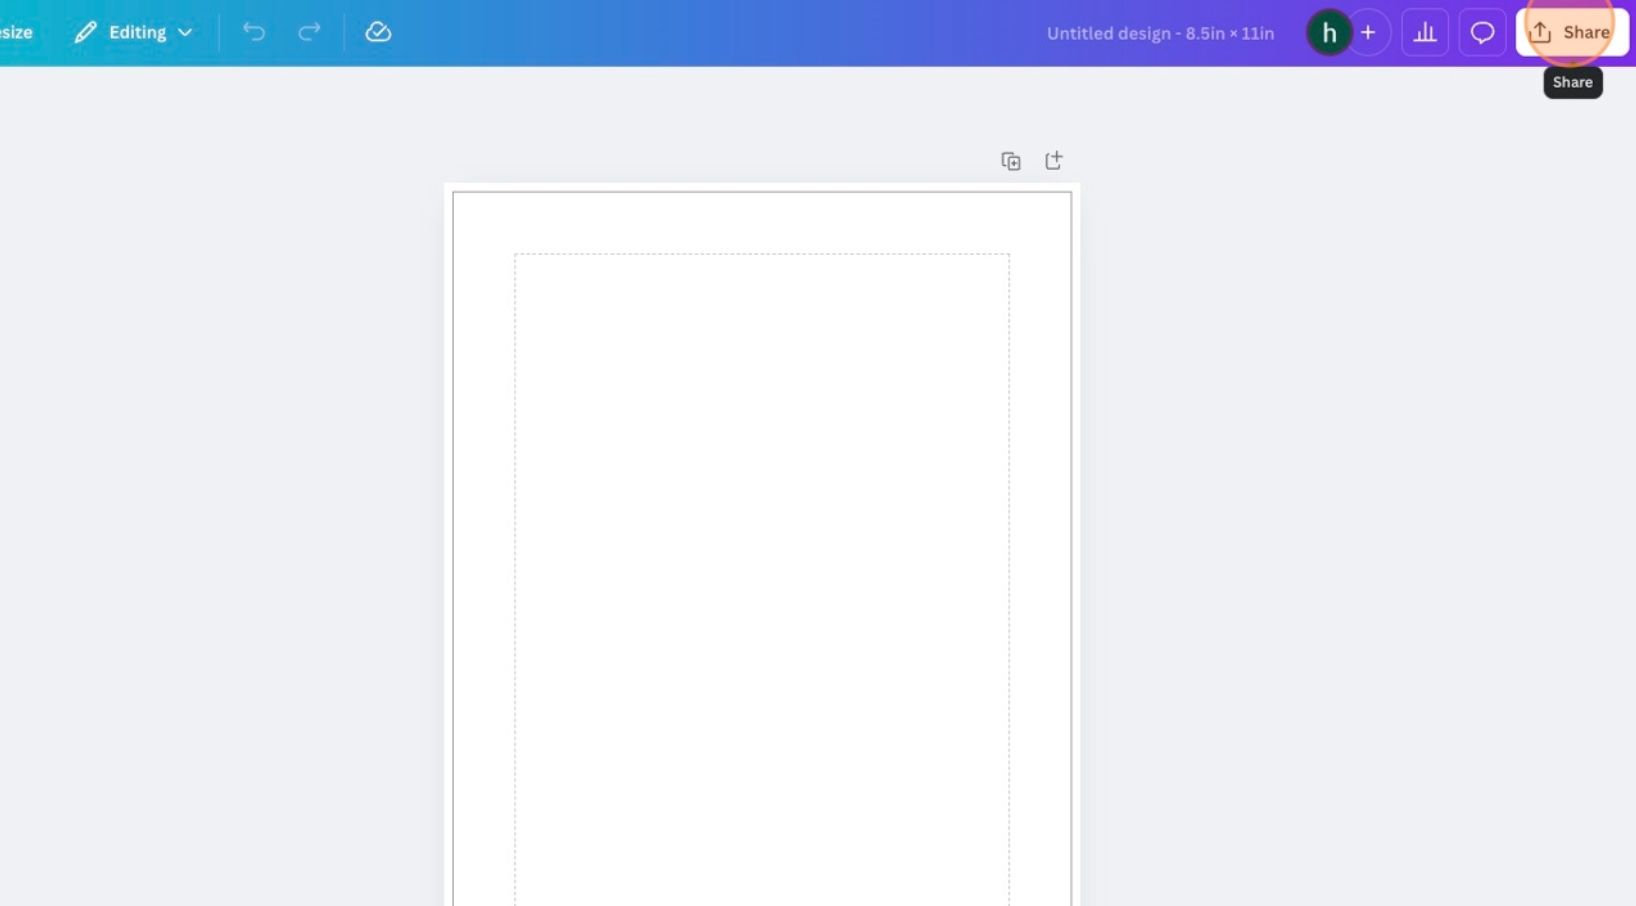
7. Once your design is ready, click "Share".
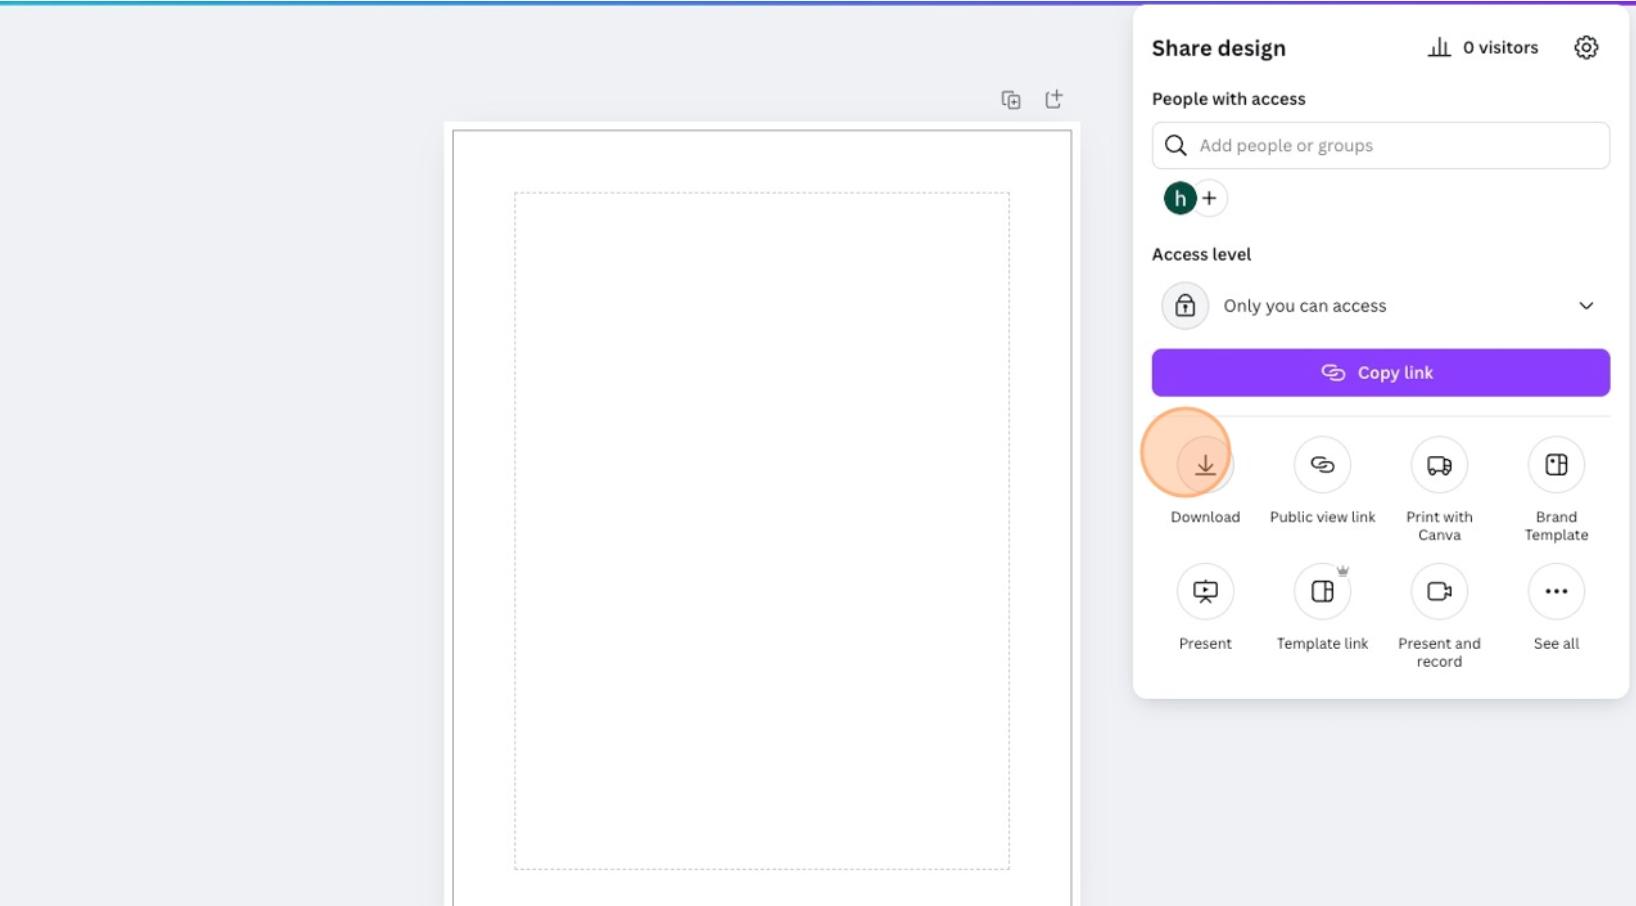
8. Click "Download".
9. Open the file type dropdown.
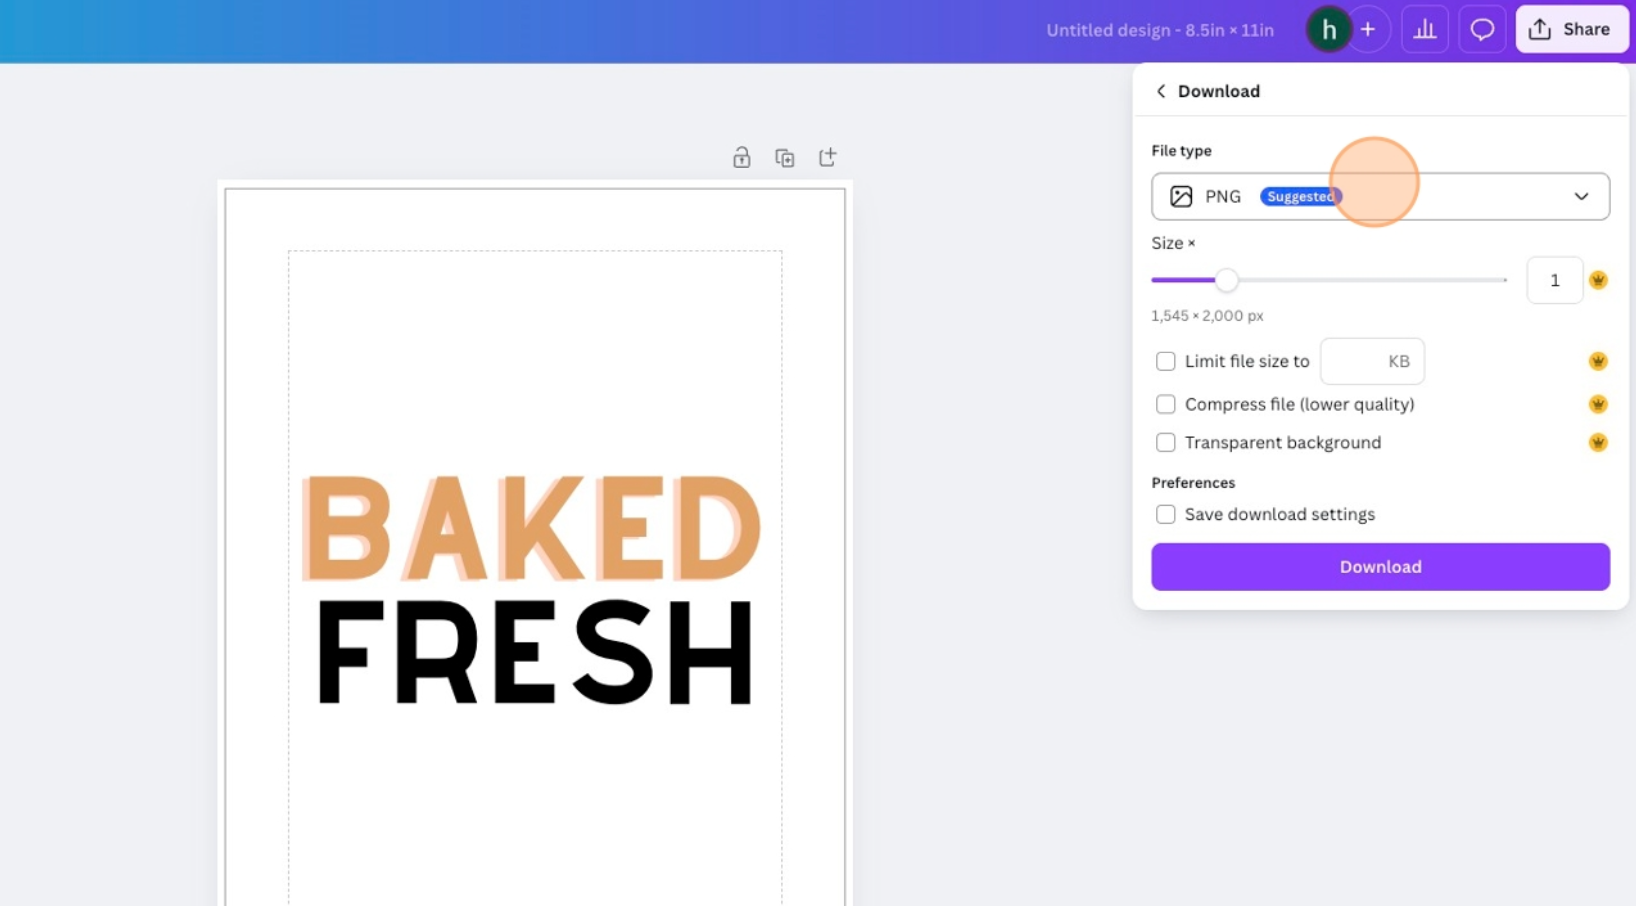
10. Click "PDF Print, Best for printing".

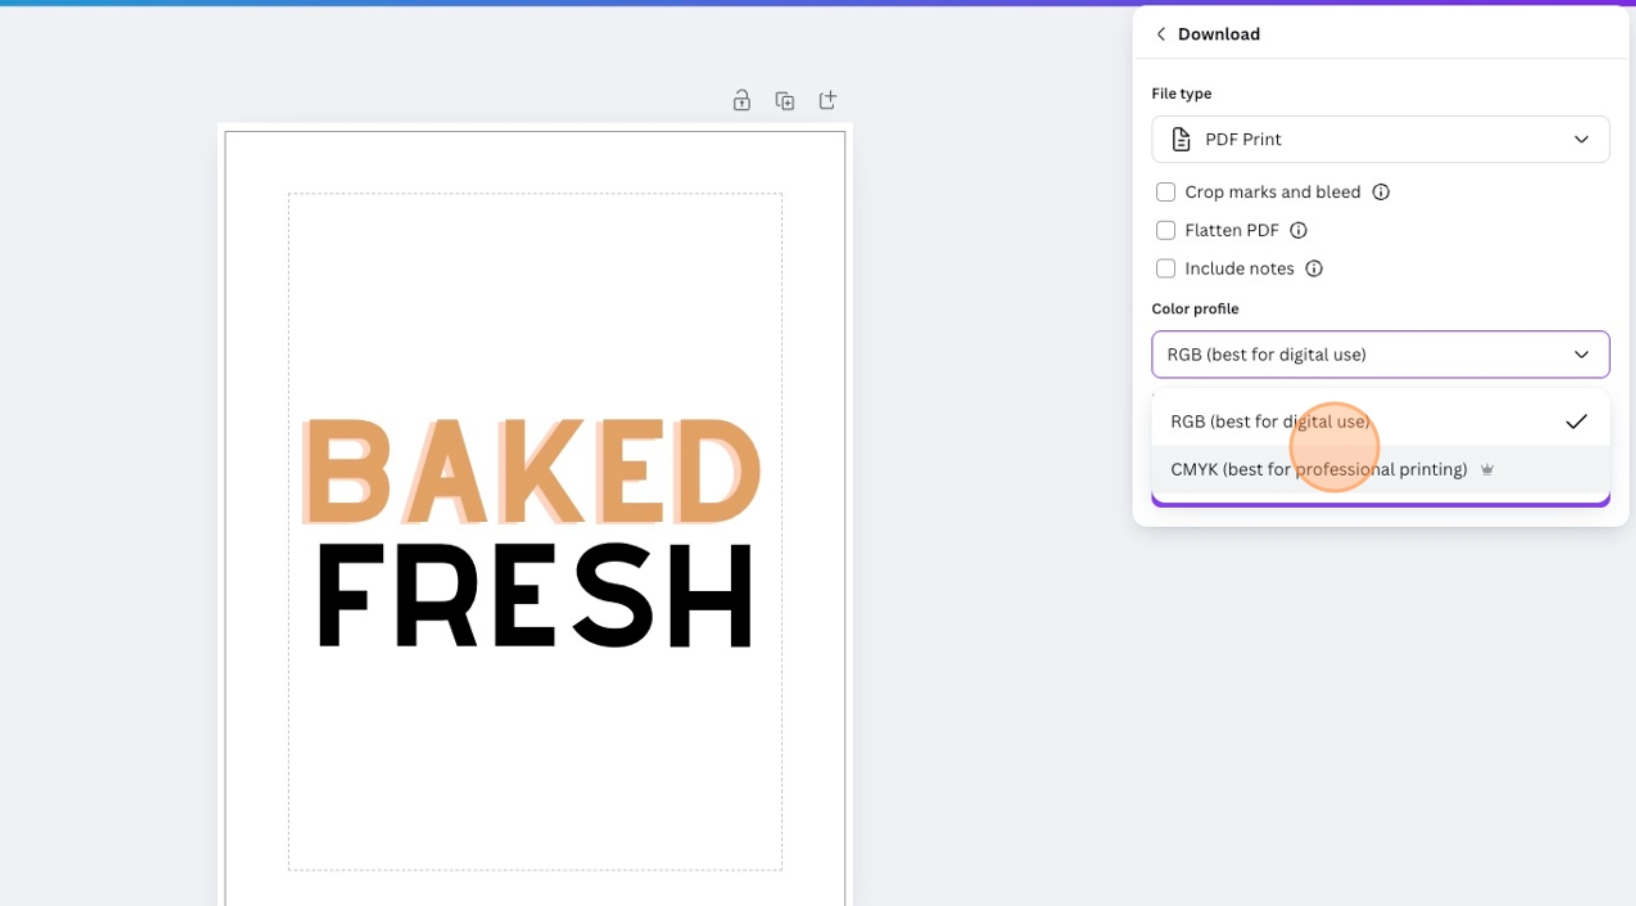
11. Open the color profile dropdown.
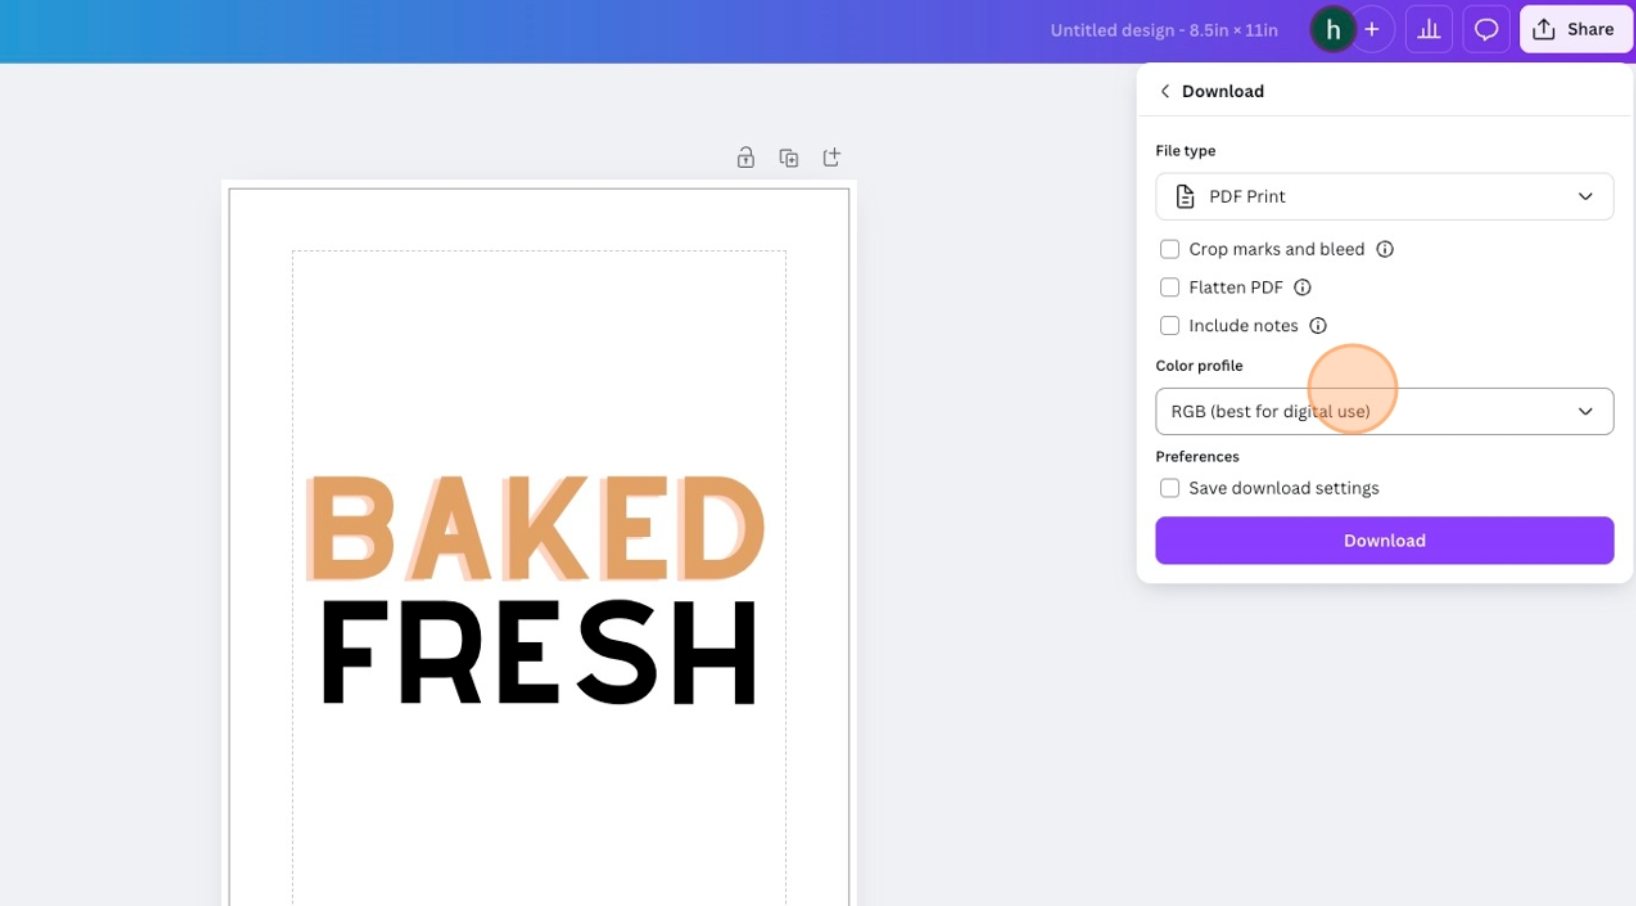
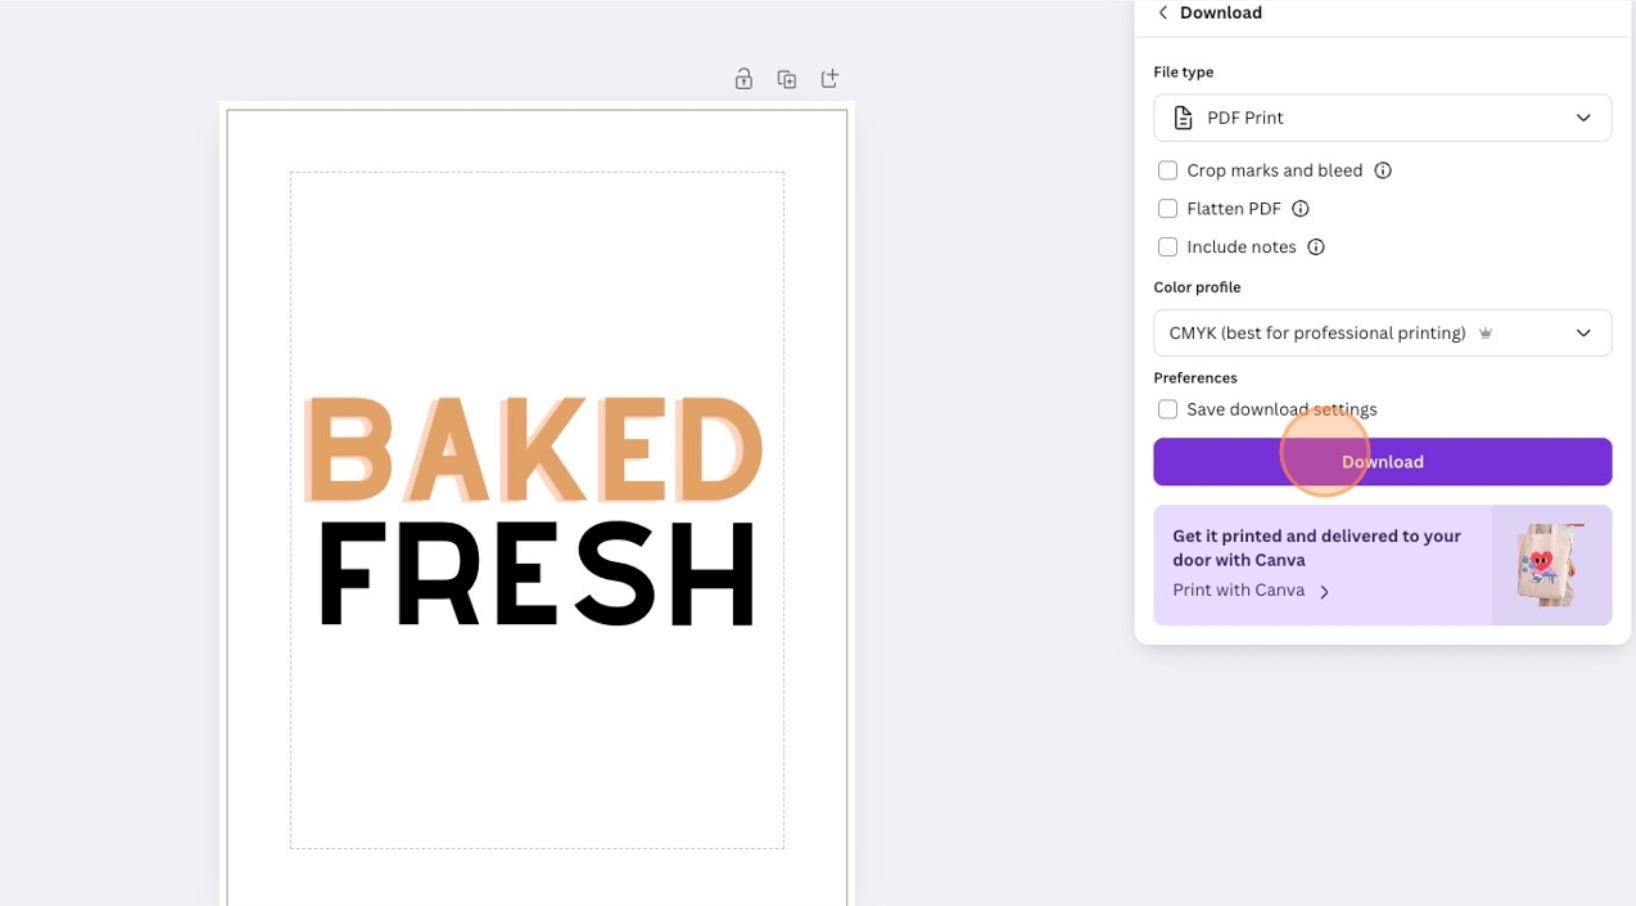
12. Click "CMYK (best for professional printing)".
* If you do not have Canva Pro, we cannot gaurantee the RGB colors will match perfectly because digital colors and print colors are not synonymous. However, we will print them on the closest CMYK colors possible. They are almost indistinguishable from each other.
13. Click "Download".
14. Upload your file to our site and we will print and ship your order within 2-3 business days!
Wondering how you should design your menu? Check out our article on Menu Engineering. Don't hesitate to reach out through our Contact Page if you have any questions.
Subscribe to our newsletter
Get the latest updates on new product offerings.